How to Optimize Images for Web Performance
A practical guide to reducing image file sizes, choosing the right format, and improving page load times with browser-based tools.
Why Image Optimization Directly Impacts Search Rankings
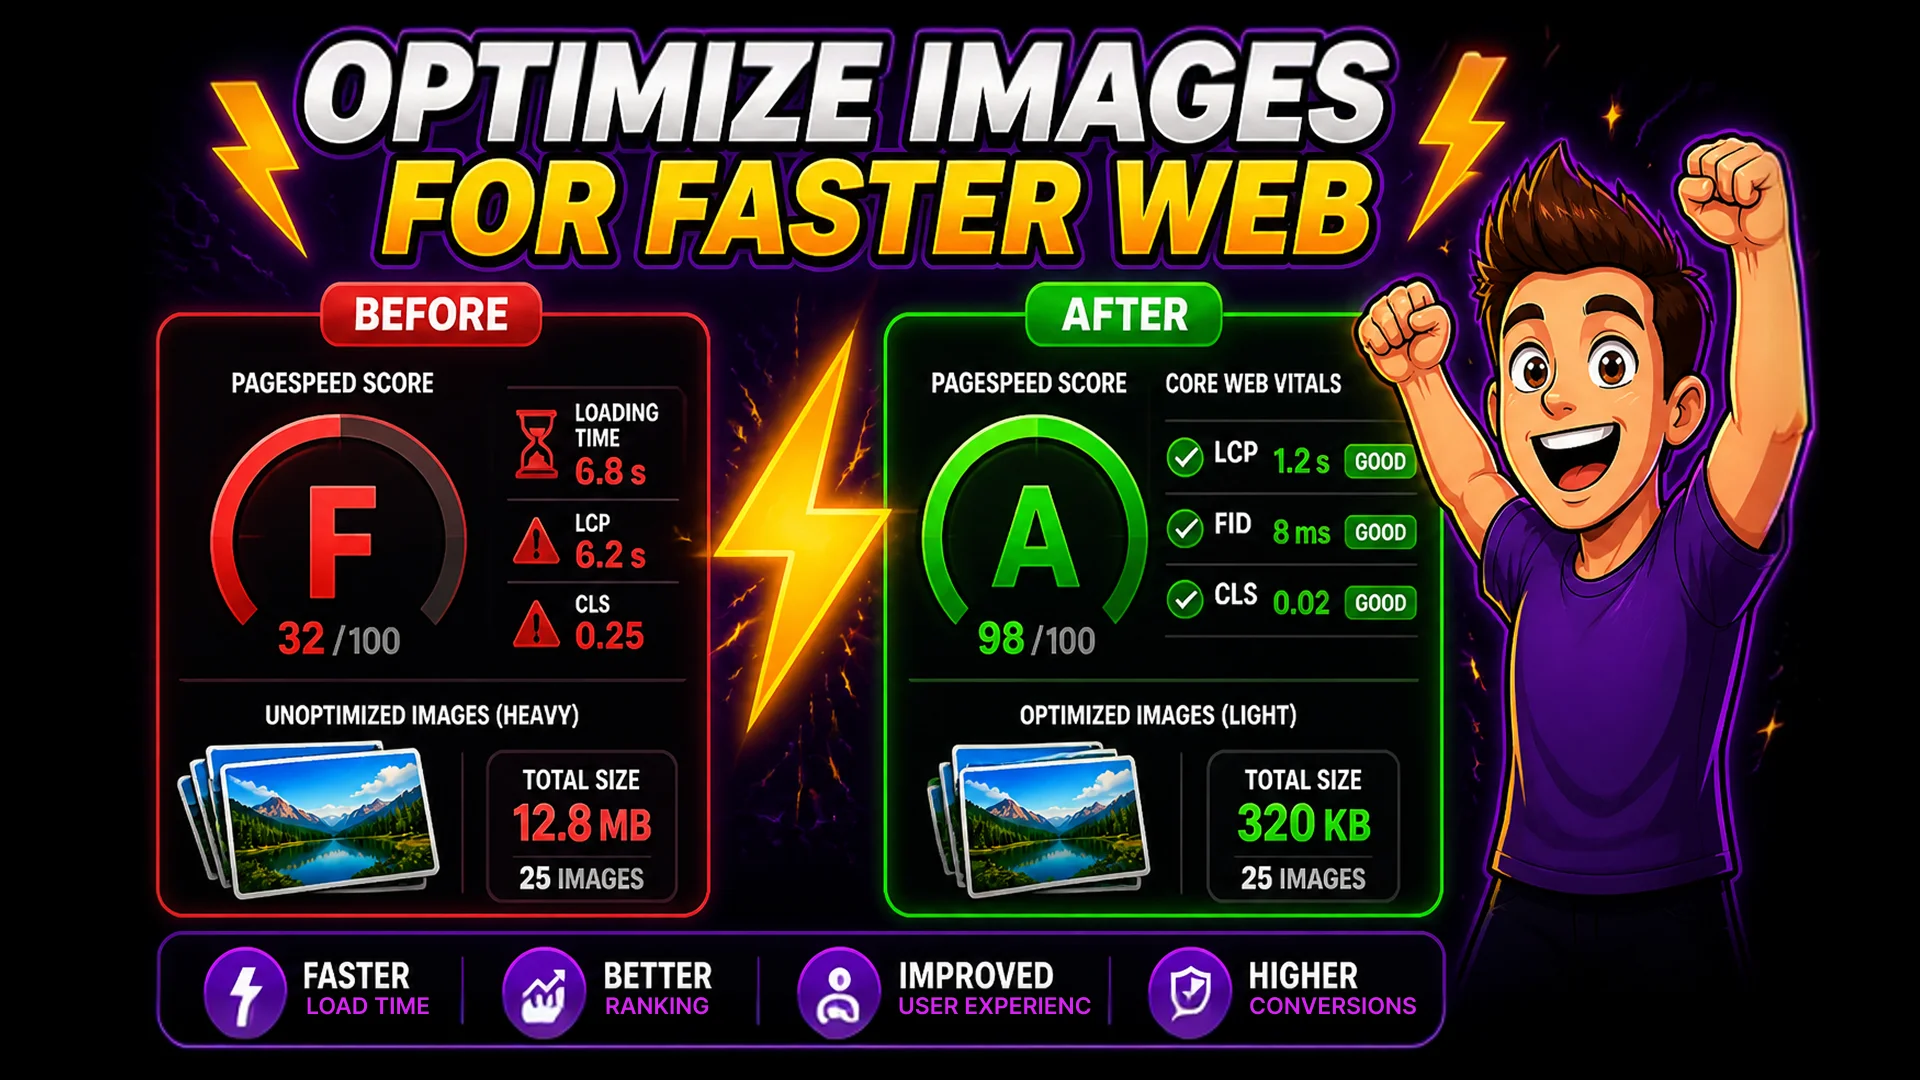
Images account for approximately 50% of the average web page's total weight in bytes. On mobile connections, an unoptimized image gallery can cause a page to take 8–12 seconds to load — a threshold at which 53% of mobile visitors abandon the page entirely, according to Google's own research.
Since 2021, Google's Core Web Vitals have been official ranking signals. The most critical metric for images is Largest Contentful Paint (LCP): how long it takes for the largest visible element — usually a hero image or product photo — to fully render. An LCP under 2.5 seconds is rated 'Good', 2.5–4.0 seconds is 'Needs Improvement', above 4.0 seconds is 'Poor'. Unoptimized images almost always cause a Poor LCP score. Image optimization is one of the highest-impact improvements you can make with the least technical complexity — no server configuration, no build tools required.
Step 1 — Choose the Right Format
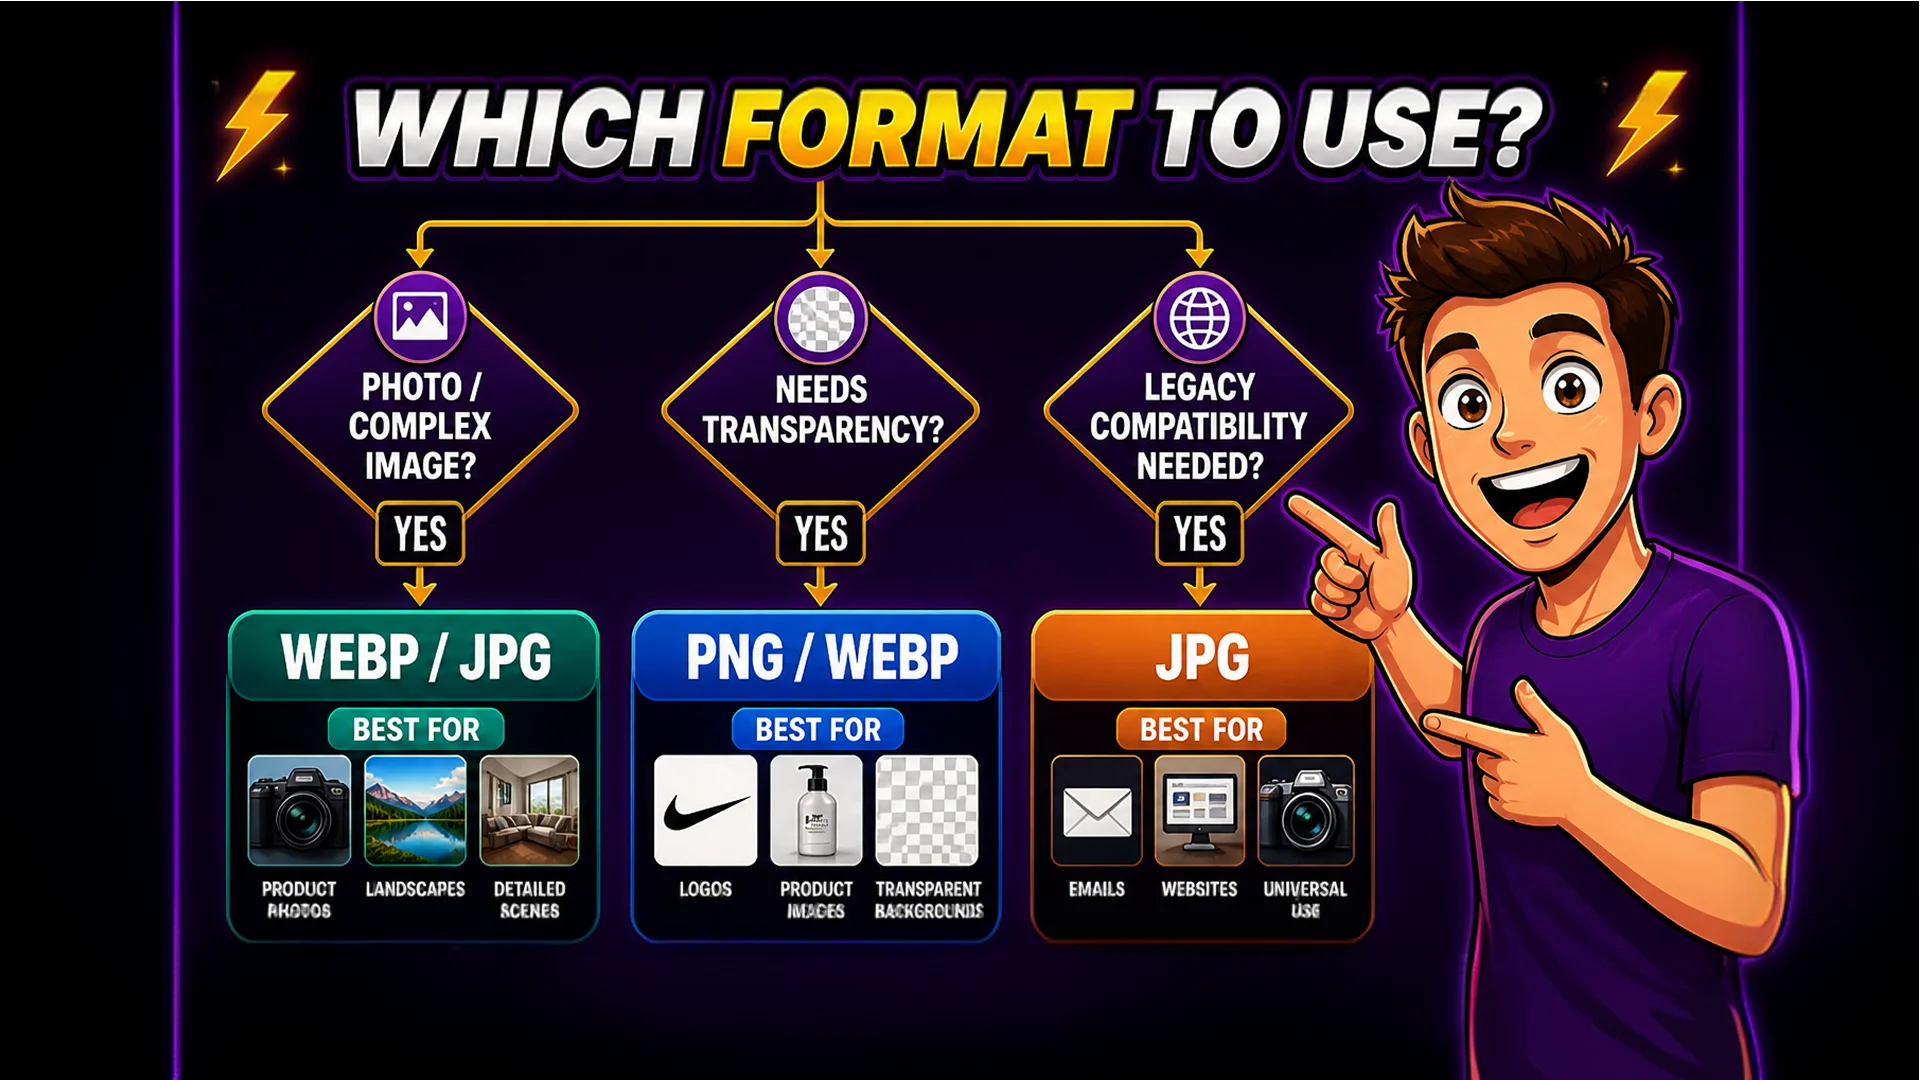
Format choice is the first and most impactful decision. Use the Image Converter to switch between formats instantly.
JPG: Use for photographs and complex images with many colors and gradients. JPG uses lossy compression that works extremely well for photographic content — a JPG at quality 80 is visually identical to quality 95 on screen but 40–60% smaller in file size. Avoid JPG for images with text, sharp edges, or transparent backgrounds. PNG: Use for graphics with text, logos, illustrations, screenshots, and anything requiring transparency. PNG uses lossless compression — every pixel is preserved exactly. WebP: Use for everything on the web when possible. WebP achieves 25–35% better compression than JPG and PNG at equivalent visual quality, supports transparency like PNG, and is supported by all major browsers since 2022. If your site still serves only PNG and JPG, switching to WebP is the single highest-impact format change you can make.
Step 2 — Compress Without Visible Quality Loss
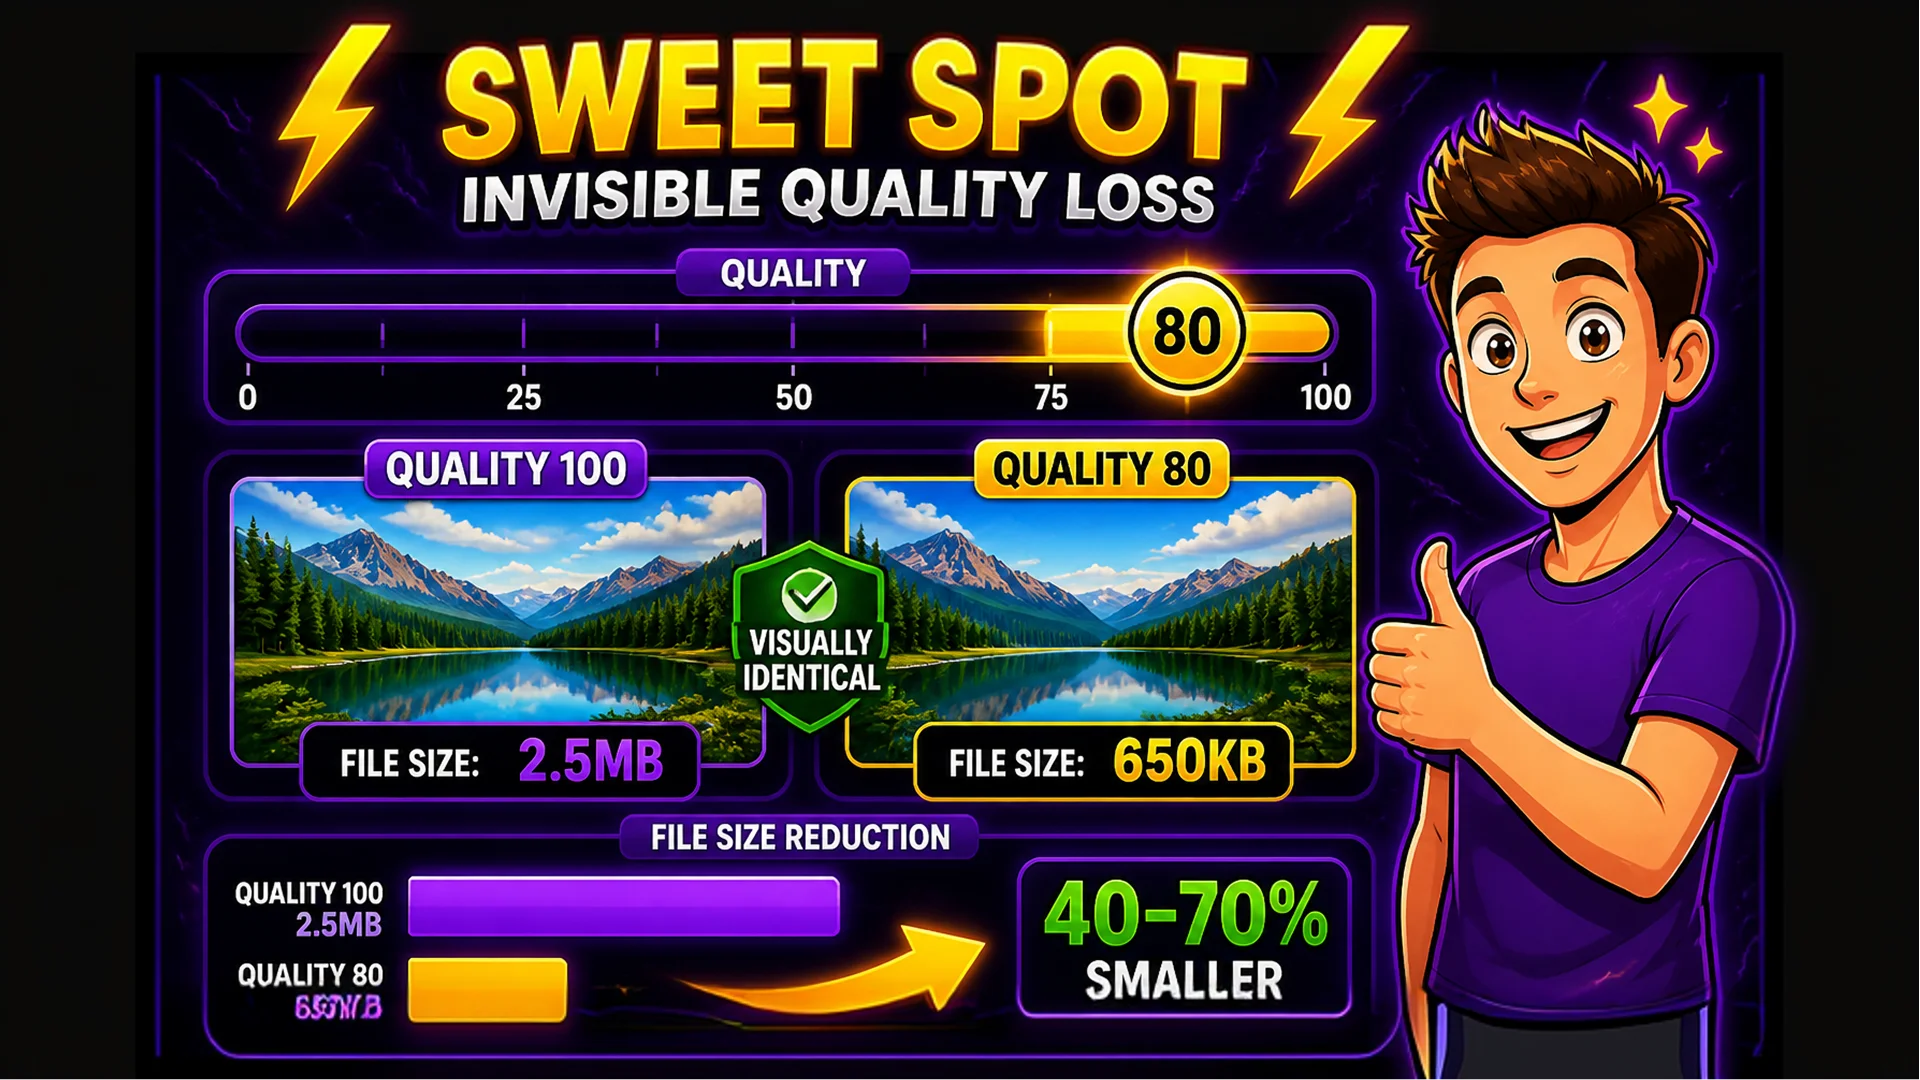
Use the Image Compressor to reduce file sizes after choosing the correct format. The quality slider defaults to 80 — the sweet spot for web images where size savings are 40–70% and visual quality is imperceptible to the human eye on any screen type.
For JPEG: quality 80–85 is ideal for hero images and product photos. Quality 70–75 is acceptable for thumbnails and secondary images. Below 70, compression artifacts become visible in textured areas. For PNG: the compressor uses palette quantization (similar to TinyPNG) to convert 24-bit PNG to optimized 8-bit indexed format, achieving 40–70% size savings with no visible degradation on illustrations, screenshots, and flat-color graphics. For WebP: quality 75–80 is excellent — the format's superior compression algorithm produces smaller files than JPG at quality 90.
Step 3 — Resize to the Actual Display Dimensions
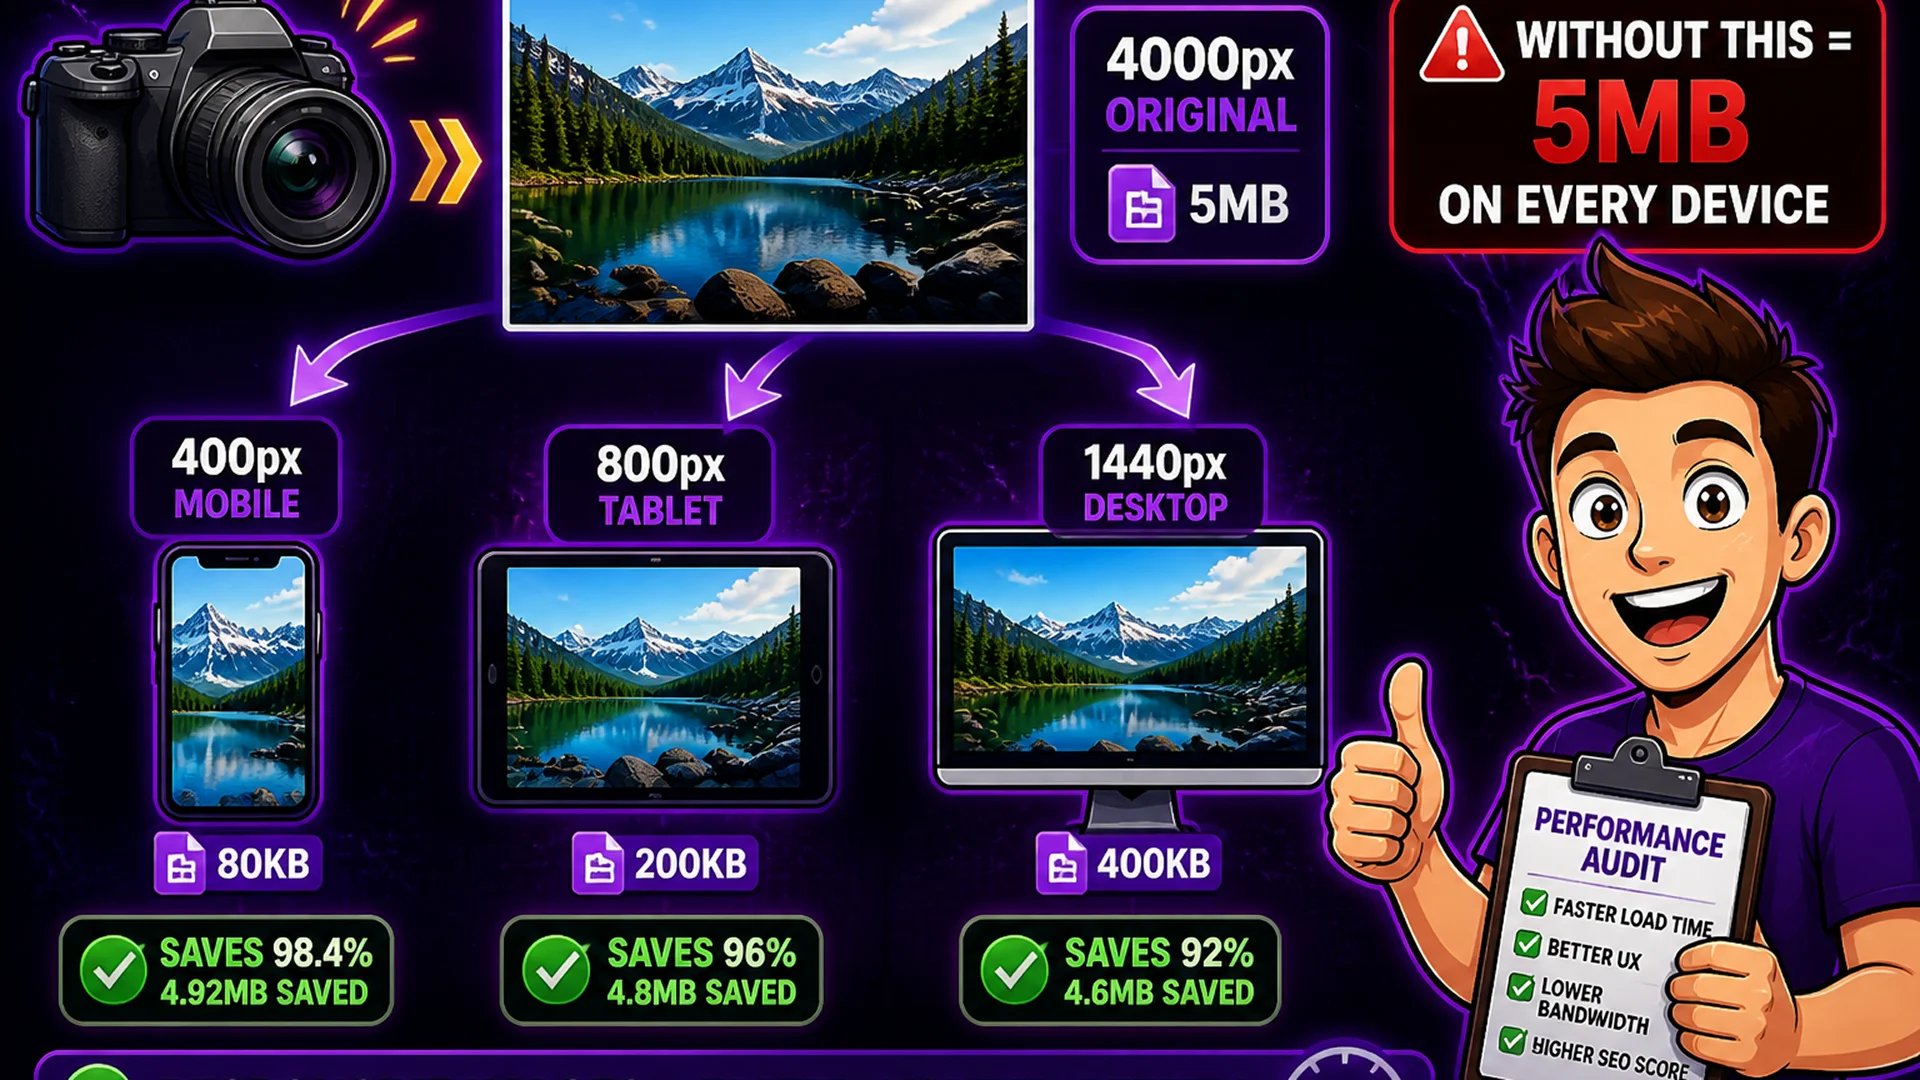
Never serve an image larger than its displayed size. Use the Image Resizer to create images at exact display dimensions for each breakpoint.
A typical desktop hero image displays at a maximum of 1440px wide. If you serve a 4000px original from your camera, the browser downloads all 4000px but only renders 1440px — the extra 2560px is pure wasted bandwidth. For responsive sites, create three variants: 400px wide for mobile, 800px for tablet, and 1440px for desktop. Use the Image Resizer's batch mode to produce all three from a single original in one operation. Combined with compression, this typically reduces an unoptimized hero image from 3–5 MB to under 150 KB.
Step 4 — Convert to WebP for Maximum Performance
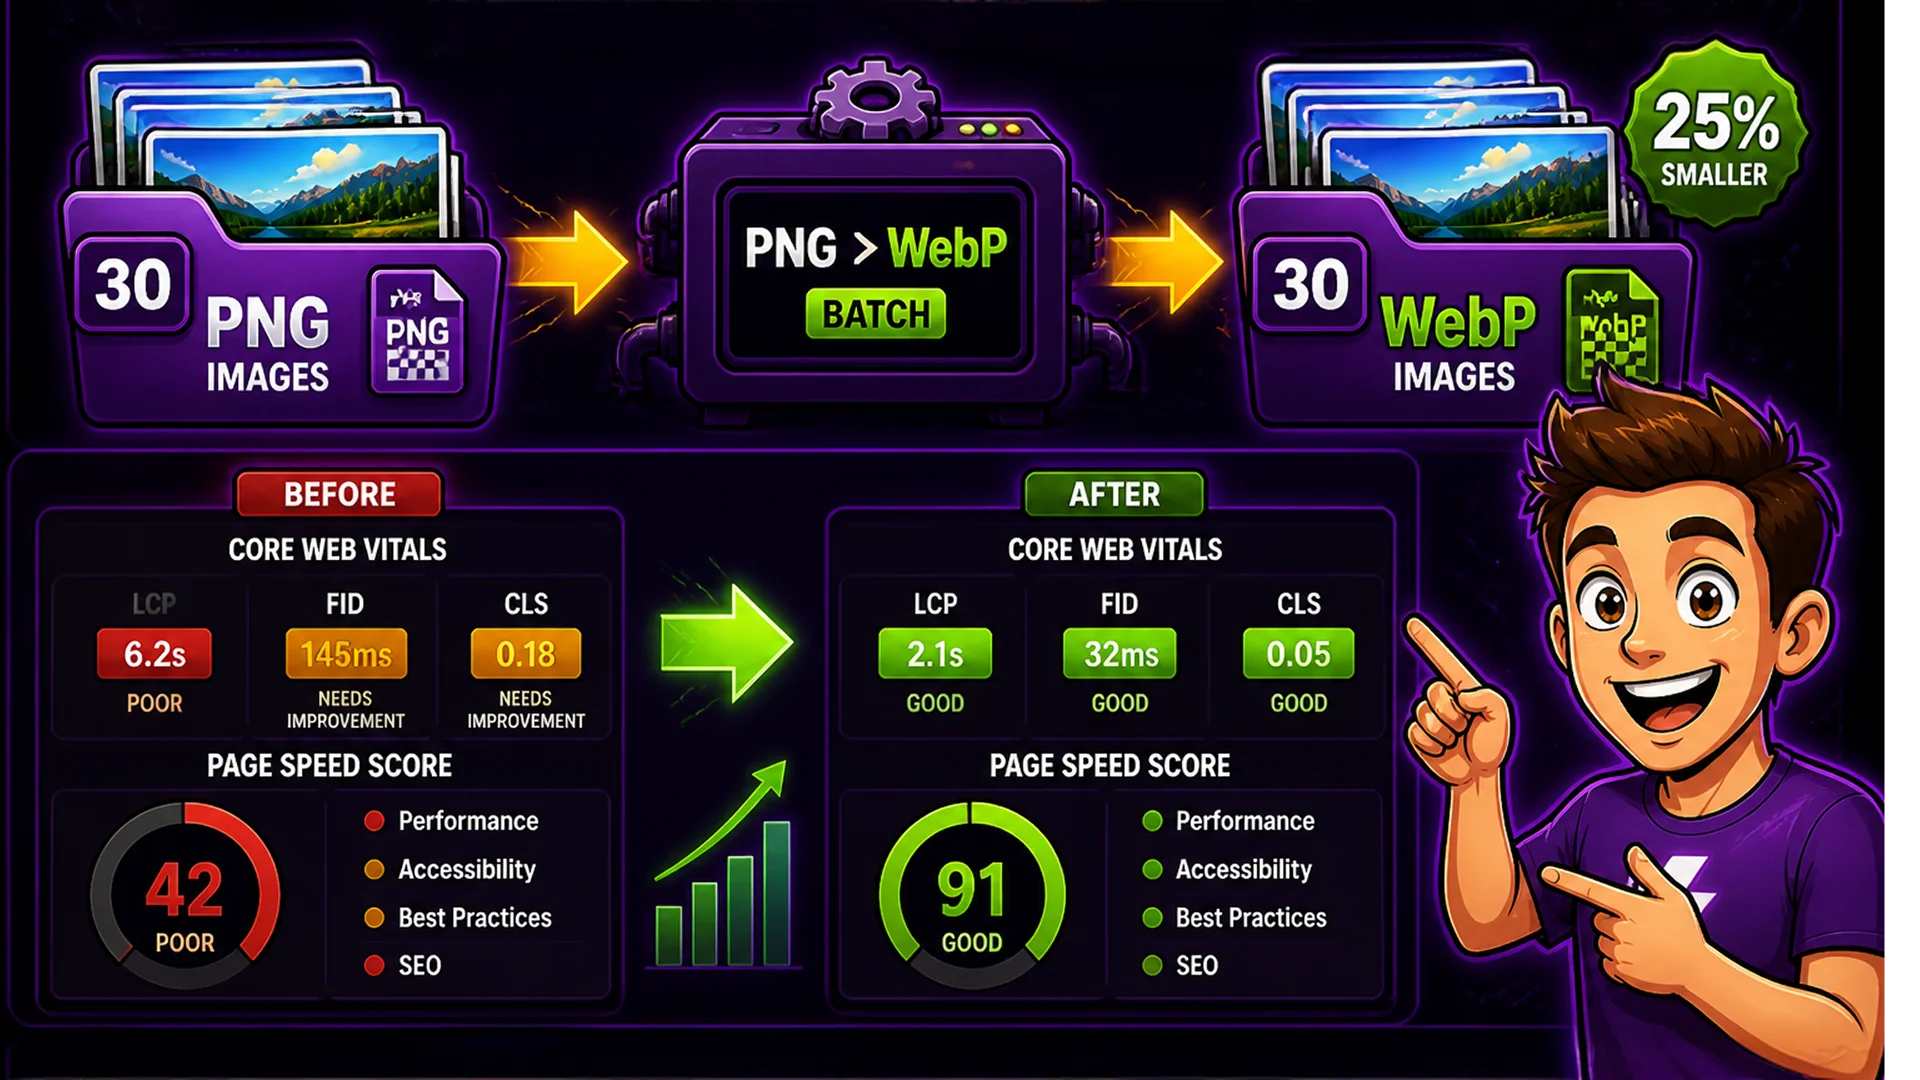
If your site serves JPG or PNG images, convert them to WebP using the PNG to WebP Converter. WebP delivers the same visual quality at 25–35% smaller file sizes, which directly improves LCP scores. All modern browsers support WebP: Chrome 23+, Firefox 65+, Safari 14+, and Edge 18+.
If you need to support legacy environments, use the HTML picture element to provide a WebP source with a JPG fallback. For most websites today, WebP-only delivery is a safe and impactful default. The PNG to WebP Converter processes batches of images simultaneously — convert an entire product catalog in a single operation.
The Complete Image Optimization Checklist
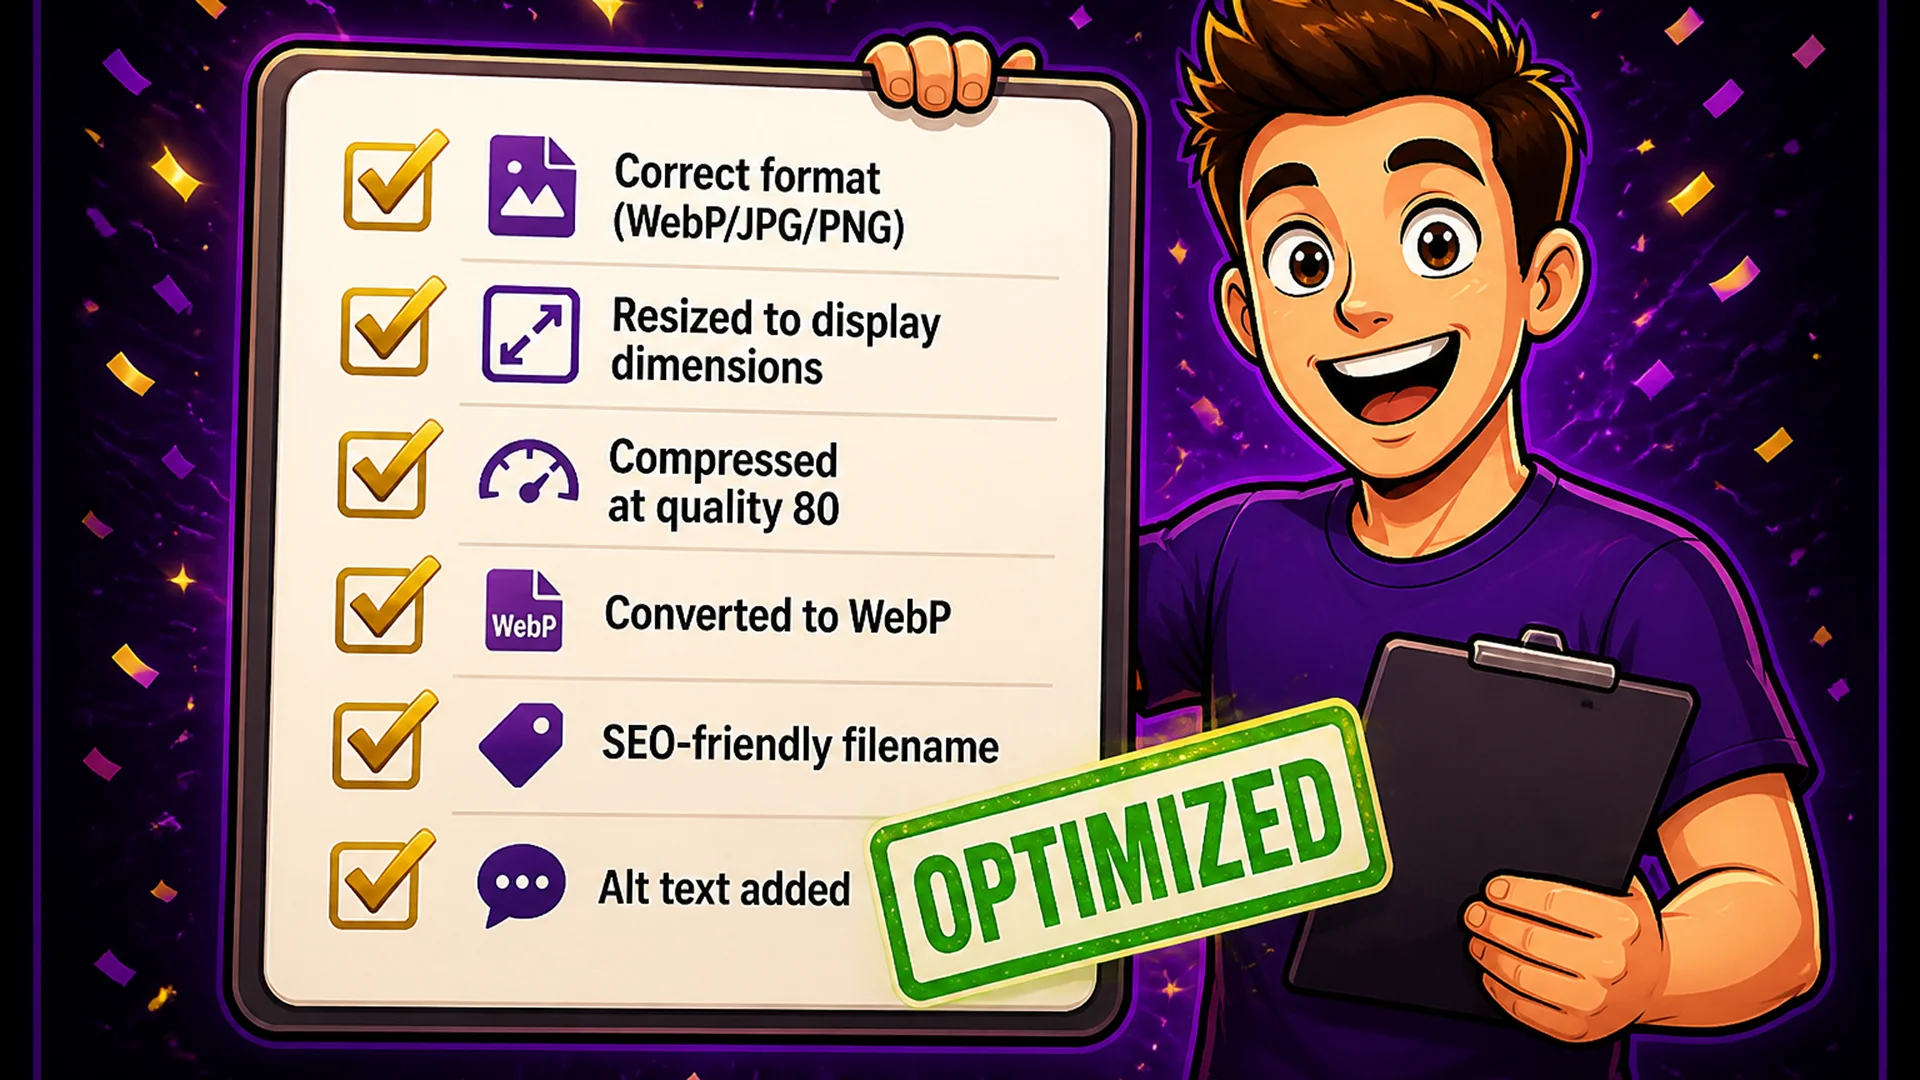
Use this checklist for every image added to a web project: Is the format correct for the content type? (JPG for photos, PNG for transparency, WebP for maximum performance.) Is the image resized to the actual display dimensions? (No serving 4000px originals for 800px displays.) Is the image compressed? (Quality 80 for JPG/WebP, quantized palette for PNG.) Is WebP format used where browser support allows? (All modern browsers since 2022.) Are filenames descriptive and SEO-friendly? Is the HTML alt attribute set for accessibility and image search?
Working through this checklist for a typical 30-image page reduces total image weight from 10–20 MB to 1–3 MB. That improvement alone can move LCP from 6 seconds to under 2.5 seconds on a mobile connection — from Poor to Good in Core Web Vitals terminology.
Related Image Tools
Image Compressor — reduce file size by 60–90% without visible quality loss. Image Resizer — resize to exact dimensions for desktop, tablet, and mobile. PNG to WebP Converter — convert to the modern format for maximum compression. Image Converter — switch between JPG, PNG, WebP, GIF, and more. Bulk Image Renamer — apply SEO-friendly naming conventions to entire batches.
Final Thoughts
Image optimization is not a one-time project — it should be part of every content publishing workflow. The four-step process (choose format, compress, resize, convert to WebP) takes under five minutes per batch and can dramatically improve Core Web Vitals scores.
Start with the Image Compressor on your existing images and see how much file size you can recover — most unoptimized websites reduce total image weight by 60–80% in the first session.